

One major project done! The solar panels are on. Our journey to making the Sprinter off the grid ready started with the purchase of a Renogy 300 watt monocrystalline solar kit, which included the charge controller. Shortly thereafter, we had a week off from work and decided a trip to California to visit Justin's parents would be a good idea because a) we like his parents b) his father is gifted in all things mechanical and has a large shop with lots of tools. As we packed up the Sprinter we excitedly envisioned driving away from California with the side window cut and placed, the ventilation fan installed, and the solar panels mounted. Of course, everything takes longer than expected, so the only thing we finished was the window, but we would have gotten the solar panels mounted too if we hadn't been thwarted by lack of a cable. More on that in a little bit.
When we got to his parents place, Justin and his dad unwrapped the solar panels while I washed the roof in preparation for their installation. All seemed well until we actually got the panels onto the van and realized that there was a slight curvature to the roof that prevented the feet from mounting flush. No worries though. The men headed to town and returned with a length of angled aluminum that they cut into new feet and bolted to the panels. They tightened the bolts almost all the way, but left just enough give that the feet could pivot and voilá - problem solved!
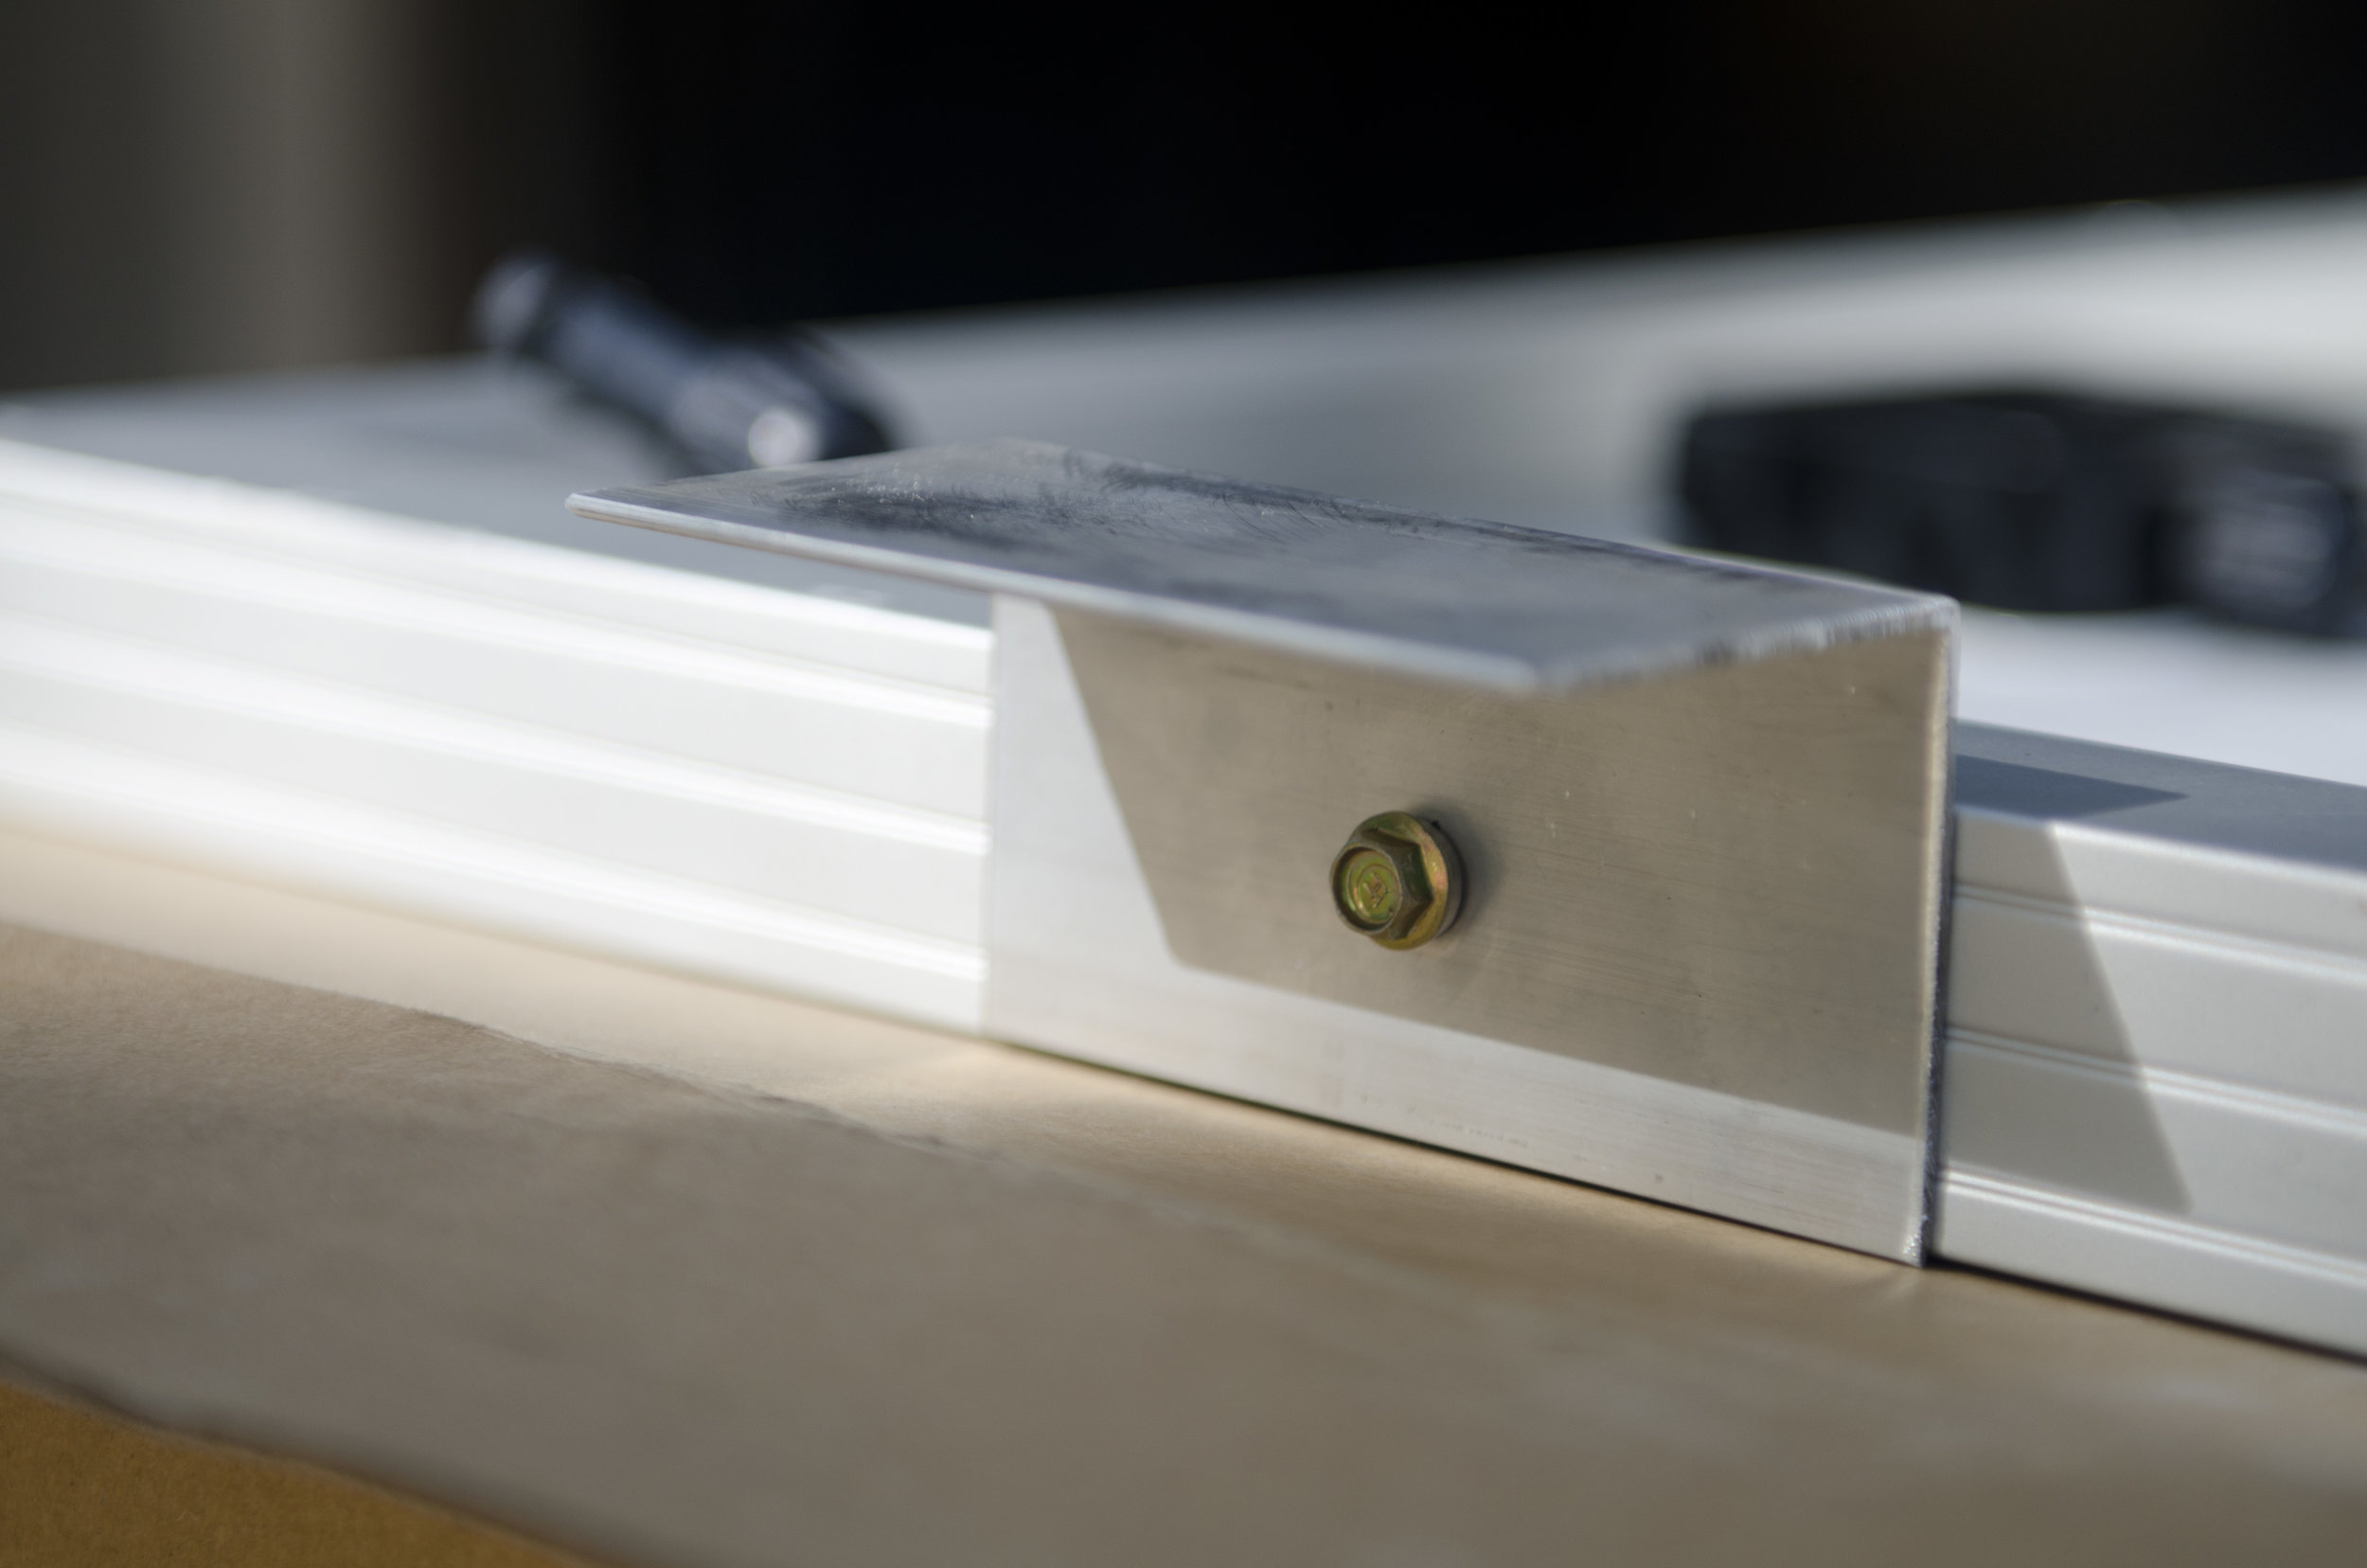
The new feet

Pivoting action demonstrated
We got the panels back on the van and moved on to figuring out the layout i.e. how to connect them together in a series. The booklet that accompanied the kit included diagrams of the various ways they could be connected in a series, none of which included a straight line, which was of course the only way they would fit on the van. That didn't seem like a big deal until we discovered that the cables that were included to connect the panels were just a tiny bit too short to connect them in a line. It was so frustrating to be that close and not be able to finish, but there wasn't much we could do but set it aside and move on to another project.

Back on the roof only to discover that they couldn't be connected in a line with kit's cables
When we got back from California we contacted Renogy (who had great customer service by the way) and ended up purchasing a Renogy 1.5 ft Mc4 connector for $8 off Amazon that handily fixed our problem. However, we were so swamped with work and school that we weren't able to tackle the project again until a few weeks ago when Justin headed to the Olympic Peninsula for a month long family medicine rural rotation. We decided that he should take the Sprinter so that he could work on some stuff during that time, especially since we knew that his family would be visiting him over Thanksgiving, meaning we could tap into his dad's expertise once again. A few days before Thanksgiving I made the long drive up to the peninsula to join him and discovered that he and his dad had already installed the CableClam through which the cables from the solar panels run down into the van. Basically, the CableClam provides a waterproof method for dropping the cables through the roof.

Our CableClam - we did a little caulking around it just to be extra safe
With the CableClam in place it was time to finally put the panels on. Since drilling a bunch of holes in the roof of your vehicle is not a good idea, solar panels are almost always mounted on vehicles with some sort of bonding agent instead of bolts. We used 2" 3M Extremely Strong Mounting Tape from Home Depot. I'd include a link but can't find the exact product on Home Depot's online site. Anyways, it came as a role and so we cut lengths to fit the feet and stuck them on in California. So for us, the final step was just peeling the cover off the tape on the feet in order to stick the panels to the roof. To enhance the bond we cleaned under each foot with alcohol wipes and then used a blow dryer to heat the feet and the roof beneath them prior to sticking them down, since it was quite chilly. After that, we sealed around each foot with caulk. The final step involved tightening the bolts on the feet the rest of the way since each foot was now in its final position. We let everything sit for several days before taking it for a drive and still had visions of a panel flying off on the freeway, but so far so good! Justin's been commuting in the Sprinter on the freeway daily since then with no issues, so they seem to be stuck on for good.

Caulking around the feet

Yes, our panels are very dusty right now. When we're actually living in it we're going to have to be like The Martian and clean off our panels on a regular basis.